
If you are cooking in a U.S. kitchen, an Instant Pot can make beans, rice, meat, soup, and vegetables with less hands-on work. The basic process is simple: add food and liquid, lock the lid, choose a program, let the pot build pressure, and release pressure safely.
The buttons may look confusing at first. That is normal. This guide explains how to use an Instant Pot pressure cooker step by step, including setup, cooking times, pressure release, safety rules, common errors, and easy first recipes.
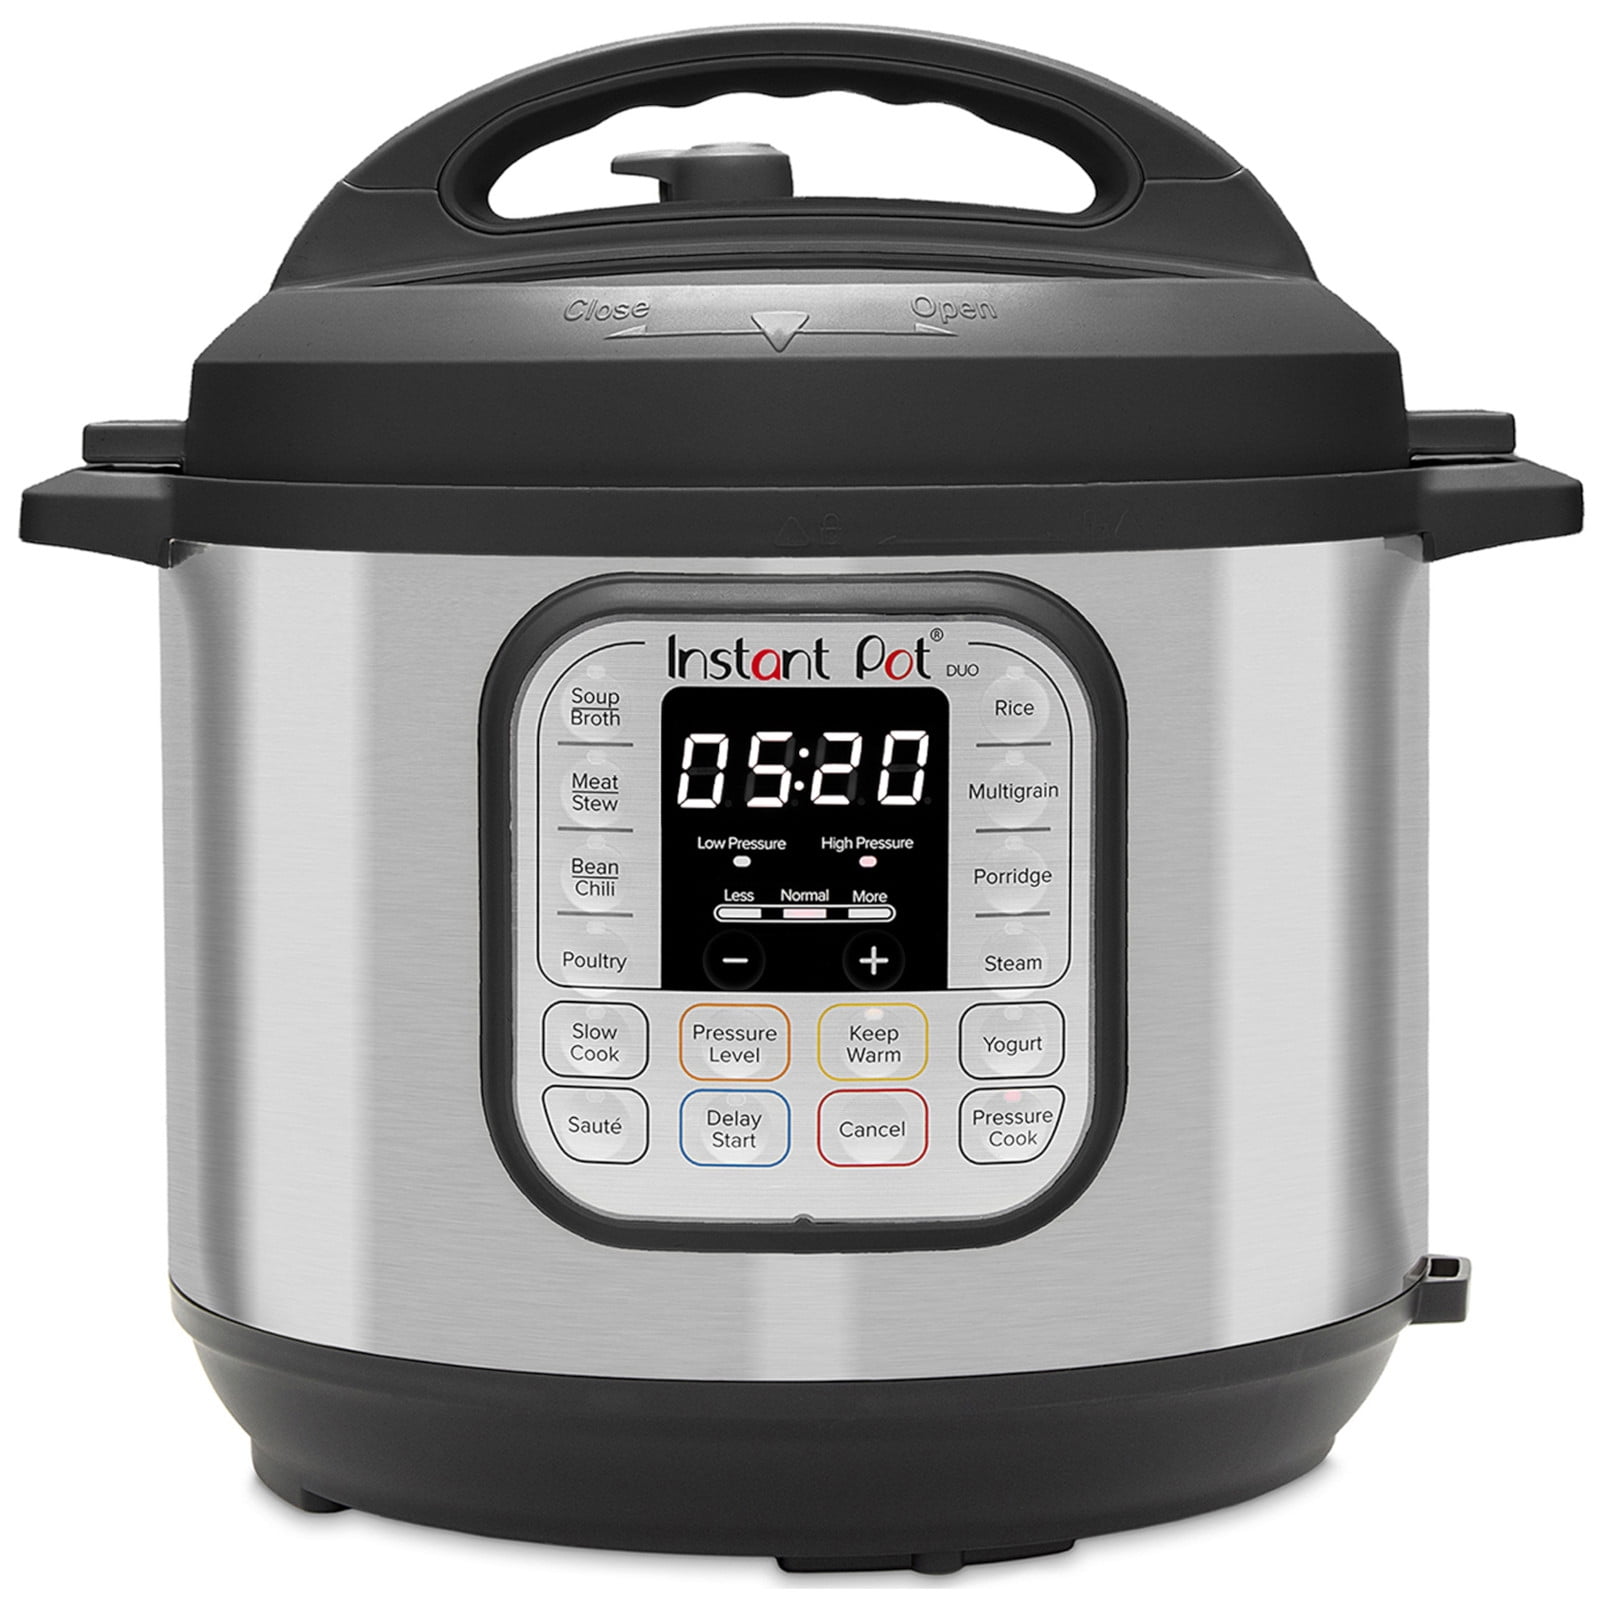
What Is an Instant Pot Pressure Cooker?
An Instant Pot is an electric pressure cooker. It uses heat and trapped steam to raise the pressure inside the sealed cooking pot. Higher pressure raises the boiling point of water, so food cooks faster than it would in a regular pot.
The cooker has several parts:
- Inner cooking pot: The removable stainless-steel pot that holds the food.
- Lid: The locking top that seals the cooker.
- Sealing ring: The silicone ring inside the lid that helps hold in steam.
- Steam release handle or button: The part used to release pressure.
- Float valve: A small pin that rises when the pot is pressurized.
- Control panel: The buttons and display used to select a cooking program.
“Instant Pot” is a brand name. “Electric pressure cooker” is the broader product type. Different Instant Pot models may have different buttons, pressure settings, and safety features, so use the manual for your exact model when the instructions differ.
What You Need Before You Start
Before using an Instant Pot, check that the cooker is clean, complete, and placed on a safe surface.
You need:
- The Instant Pot base
- The inner pot
- The lid
- A clean sealing ring
- The steam release part
- Food and cooking liquid
- A heat-safe spoon or spatula
- The model’s user manual
Place the cooker on a stable, heat-resistant counter. Leave space around the steam release area. Do not place it under a cabinet if escaping steam could damage the cabinet or trap heat.
Inspect the sealing ring and float valve. The ring should sit evenly in its track. The float valve should move freely and should not be blocked by food or residue.
Never use the cooker without the inner pot. Never fill the outer cooker base with water or food. Only the removable inner pot belongs inside the heating base.
How to Use Instant Pot Pressure Cooker
Follow these steps for most pressure-cooking programs. Button names vary by model, but the process is much the same.
1. Add the food to the inner pot
Put the ingredients into the inner pot. Arrange food in a way that allows liquid and steam to move around it.
For foods that expand, such as rice, beans, pasta, and grains, leave plenty of room. As a general safety rule, do not fill the pot above the half-full line when cooking foods that expand or foam.
For other foods, do not exceed the two-thirds-full line. The cooker needs space for steam to build safely.
2. Add enough cooking liquid
Pressure cooking needs liquid to create steam. Water, broth, stock, thin sauces, and some other liquids may work, depending on the recipe.
Use the amount listed in the recipe or your Instant Pot manual. The minimum liquid amount can vary by model and size. Many recipes use about 1 to 1½ cups of thin liquid, but do not assume that amount is correct for every cooker.
Thick sauces may burn before enough steam forms. If a recipe contains tomato sauce, cheese, sugar, or a thick paste, add a thin liquid first and place thicker ingredients above it when possible.
3. Check the lid and sealing ring
Place the sealing ring into the lid track. Make sure it is smooth and fully seated.
Check that the steam release part is installed. Then place the lid on the cooker and turn it until it locks. Most models play a sound or show a lid symbol when the lid is closed correctly.
Do not force the lid shut. If it does not close easily, check the sealing ring, lid position, and float valve.
4. Set the steam release to sealing
Move the steam release handle or switch to Sealing. Some models use a button instead of a handle.
This step matters. If the valve stays on Venting, steam will escape and the cooker may not build pressure.
Keep your hands and face away from the valve. Steam can cause serious burns.
5. Select a pressure-cooking program
Press a button such as:
- Pressure Cook
- Manual
- Meat/Stew
- Soup
- Bean/Chili
- Rice
- Porridge
Many preset buttons use a default time. You can usually adjust the time with the plus and minus buttons.
For the most control, use Pressure Cook or Manual and set the time listed in your recipe. Choose High Pressure or Low Pressure when your model offers that option.
6. Set the cooking time
The time on the display is usually the time spent at full pressure. It does not include the time needed for the cooker to heat and pressurize.
For example, a recipe set for 10 minutes may take 20 to 35 minutes in total because the cooker first needs time to build pressure and later needs time to release it.
The time needed to reach pressure depends on:
- The amount of food
- The amount and temperature of liquid
- The starting temperature of the ingredients
- The size of the cooker
- The food’s density
- The selected pressure level
Frozen food and a full pot often take longer to pressurize.
7. Wait for the cooker to pressurize
The display may show On, Preheating, or a similar message. During this stage, the cooker heats the contents and creates steam.
When the float valve rises, the lid locks. The display then begins counting down the selected cooking time.
Do not try to open the lid while the float valve is raised. The lid is designed to stay locked while pressure remains inside.
8. Release the pressure
When cooking ends, the cooker may beep and switch to Keep Warm. You must then release the pressure before opening the lid.
There are two main methods:
Natural pressure release
Leave the steam release in the sealing position. Pressure drops on its own as the cooker cools.
Natural release works well for:
- Beans
- Soups
- Stews
- Large cuts of meat
- Foods with lots of liquid
- Foods that may foam
The process may take 10 to 30 minutes or longer, depending on the amount and type of food.
Quick pressure release
Move the steam release to Venting or press the release button, based on your model.
Use a long utensil if your model requires you to turn the valve by hand. Keep your face, hands, and arms away from the steam path.
Quick release can work well for:
- Tender vegetables
- Seafood
- Foods that may overcook
- Recipes that tell you to release pressure at once
If liquid or foam begins to spray from the valve, return it to sealing if you can do so safely. Wait several minutes, then try again. A controlled or natural release may be safer for foamy foods.
9. Confirm that pressure is gone
Open the lid only when:
- The float valve has dropped
- The pressure indicator shows no pressure
- The lid turns without force
Open the lid away from your face. Hot steam may still escape from the pot.
10. Finish and serve the food
Stir the food and check its texture. If it is not done, replace the lid and cook it for a few more minutes under pressure, or use the Sauté function to reduce liquid and finish the dish.
Use heat-safe tools. Metal utensils can scratch some inner pots, although stainless-steel pots are generally durable.
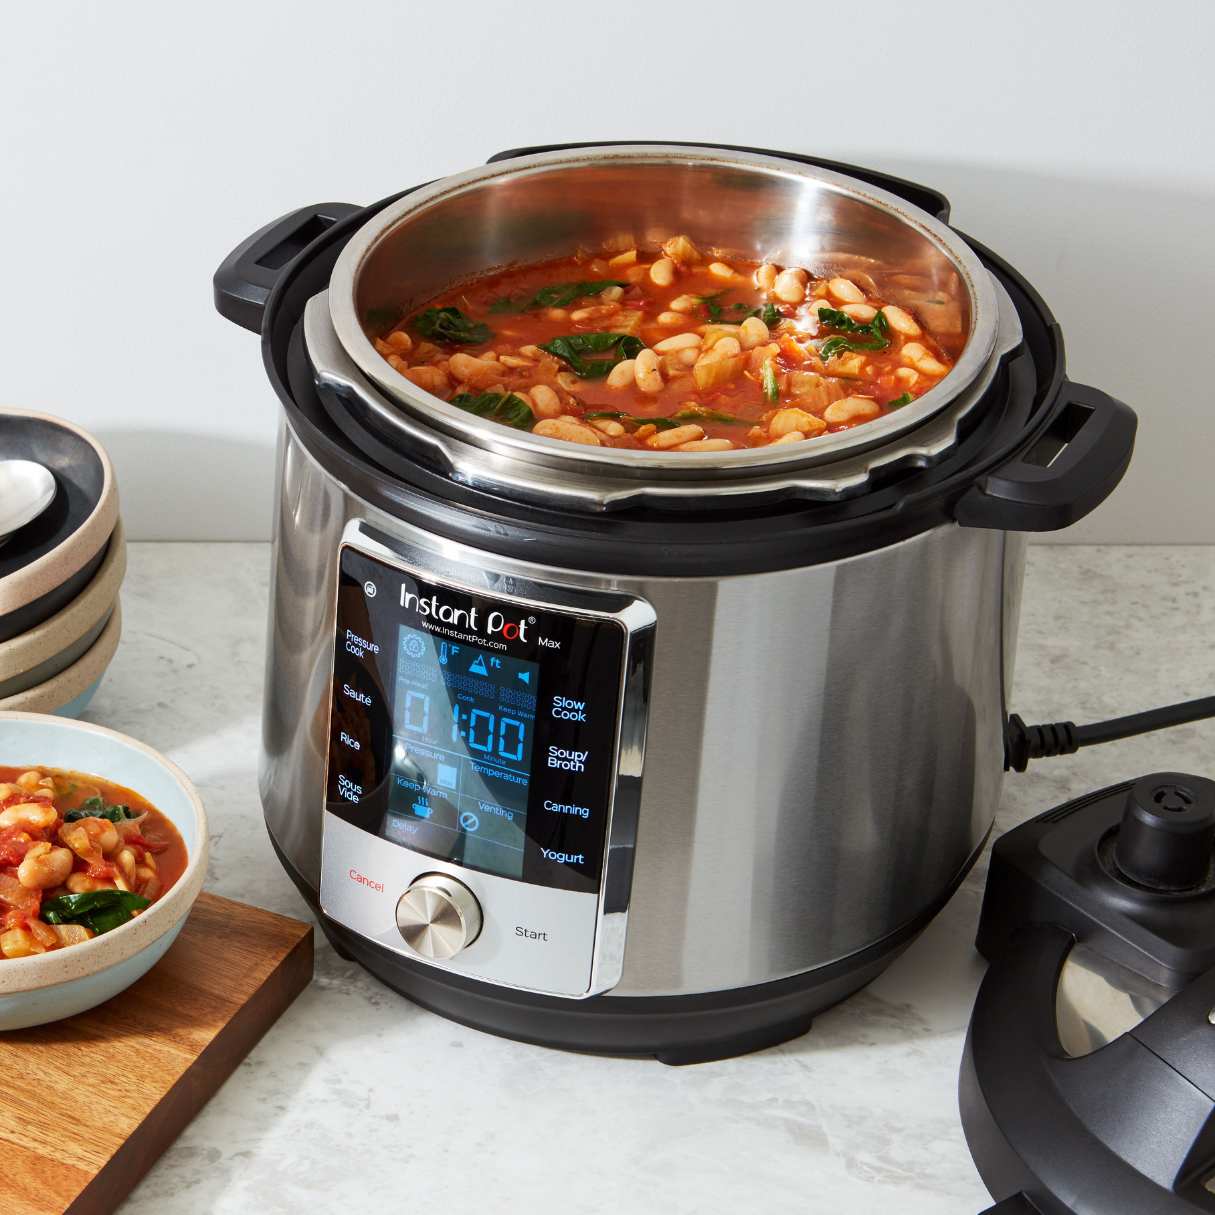
How to Choose the Right Pressure Release
The best pressure-release method depends on the food. Use the recipe first, then apply these general rules.
| Food or dish | Usual release method | Reason |
|---|---|---|
| Soup or stew | Natural release | Reduces splashing and helps dense food finish cooking |
| Dried beans | Natural release | Helps limit foaming and skin splitting |
| Large meat cuts | Natural release | Helps the meat rest and may improve texture |
| Rice and grains | Natural release for a short time, then release as directed | Helps liquid absorb and reduces spraying |
| Delicate vegetables | Quick release | Helps prevent overcooking |
| Fish or seafood | Quick release | Texture can suffer with extra heat |
| Foods with dairy or starch | Follow recipe instructions | Thick mixtures may foam or scorch |
A natural release is not always better. It adds cooking time, so delicate foods can become too soft if they sit under pressure for too long.
A quick release is not always faster in practice. If the pot contains a large amount of liquid or a foamy food, steam may need to escape slowly.
How to Use Common Instant Pot Functions
Instant Pot buttons are presets, not always separate cooking methods. Many presets still use pressure cooking with a default time and pressure level.
Pressure Cook or Manual
Use this setting when you want to choose the cooking time yourself. It is often the clearest option for recipes written for an electric pressure cooker.
Sauté
Use Sauté with the lid off. It can brown meat, soften onions, toast spices, or reduce a thin sauce.
After sautéing, scrape browned bits from the bottom with liquid before pressure cooking. Burned food stuck to the bottom can trigger a burn warning.
Slow Cook
The slow-cook function uses lower heat and works differently from pressure cooking. The lid may need a different setting, depending on the model. Check the manual before using it.
Keep Warm
Keep Warm holds cooked food at a warm temperature for a limited time. It does not replace safe food storage.
For food safety, refrigerate perishable leftovers promptly in shallow containers. The U.S. Department of Agriculture recommends refrigerating perishable food within two hours, or within one hour when the air temperature is above 90°F.
Yogurt, Steam, Rice, and Other Presets
These programs may use special temperature controls or preset timing. Read the manual for the exact model because the same button can behave differently across product lines.
How Long Does Pressure Cooking Take?
Pressure-cooking time is only part of the total time. A useful estimate is:
Total time = preparation time + pressurizing time + cooking time + release time
For example, a 10-minute pressure-cooking recipe may require:
- 10 minutes to prepare
- 15 minutes to reach pressure
- 10 minutes at pressure
- 10 minutes for natural release
The total would be about 45 minutes.
Cooking time also changes with food size. A whole potato takes longer than diced potato. A thick frozen roast takes longer than small thawed pieces.
Use tested recipes when possible. Do not rely on a short pressure time alone to determine whether meat is safe to eat. Check large cuts with a food thermometer and follow USDA safe internal temperature guidance.
Easy First Foods to Make
Begin with foods that have a clear texture and do not foam heavily.
Hard-boiled eggs
Place eggs on a rack with water below them. Use a pressure-cooking setting, then cool the eggs in ice water. The exact time affects yolk texture, so adjust after the first batch.
Rice
Use the rice button only if the rice type and amount match the instructions for your model. Rice ratios vary by grain and method.
Let rice rest briefly after cooking when the recipe says to do so. This allows extra moisture to spread through the grains.
Steamed vegetables
Use a rack or steamer basket with a small amount of water. Cook for a short time and release pressure quickly unless the recipe says otherwise.
Beans
Sort and rinse dried beans first. Add enough liquid and avoid filling the pot above half full because beans expand and may foam.
Do not pressure-cook dried beans in a tightly filled pot. Use a natural release unless a tested recipe gives different instructions.
Shredded chicken
Add chicken with broth or another thin liquid. Cook until the thickest part reaches a safe internal temperature, then shred it after cooking.
Cooking time depends on whether the chicken is fresh or frozen and whether the pieces are whole or cut.
Common Instant Pot Problems and Fixes
Most problems come from a valve setting, sealing issue, thick food, or incorrect liquid amount. Check the safest and simplest causes first.
The Instant Pot will not build pressure
Possible causes include:
- The steam release is set to venting
- The sealing ring is missing or loose
- The lid is not fully locked
- Too little thin liquid was added
- The float valve has food or residue around it
- Steam is escaping around the lid
Turn off the cooker if steam is escaping heavily. Wait until pressure is gone, then inspect the ring, lid, and valve. Add liquid only after checking the recipe and ensuring the food has not burned onto the bottom.
Steam is leaking from the sides
A side leak often means the sealing ring is not seated correctly. It may also be dirty, stretched, cracked, or installed upside down.
Let the cooker depressurize fully. Remove and clean the ring and lid track. Replace the ring if it is damaged or no longer fits firmly.
The display says “Burn” or “Food Burn”
A burn warning often means food is stuck to the bottom or the mixture is too thick.
After pressure is released safely:
- Remove the contents.
- Check the bottom of the inner pot.
- Scrape away stuck food.
- Add thin liquid.
- Place thick ingredients on top when the recipe allows.
- Restart only if the food and pot are not badly burned.
Do not ignore repeated burn warnings. Thick foods may need stovetop cooking, more liquid, or a different recipe method.
Liquid sprays from the steam valve
Spraying may happen when the pot is too full or when the food foams. Beans, pasta, grains, and starchy foods are common causes.
Move the valve to sealing if you can do so without touching escaping steam. Wait for the spray to stop. Use a natural release for future batches and reduce the fill level.
The food is undercooked
Check whether the cooker reached pressure and whether the cooking time matched the food’s size.
If the food is safe to continue cooking, add liquid if needed and pressure-cook it again in short intervals. Dense foods may need more time than small pieces.
The lid will not open
Do not force the lid. The float valve may still be raised, which means pressure remains inside.
Wait until the float valve drops. If the cooker has cooled but the lid remains locked, consult the model manual. Do not pry it open or remove safety parts.

Instant Pot Safety Rules
An Instant Pot has built-in safety features, but safe use still depends on correct operation.
Follow these rules:
- Read the manual for your exact model before first use.
- Never force the lid open.
- Never block the steam release.
- Keep your face and hands away from escaping steam.
- Do not overfill the pot.
- Use enough thin liquid for pressure cooking.
- Be careful with hot oil, thick sauces, dairy, and sugary foods.
- Inspect the sealing ring and steam valve regularly.
- Do not use a damaged cooker or damaged electrical cord.
- Keep the cooker away from children while it is hot or pressurized.
- Do not use an electric pressure cooker for home pressure canning unless the manufacturer and a recognized canning authority specifically approve that use.
The National Center for Home Food Preservation explains that pressure cooking is not the same as pressure canning. Safe canning requires validated time, pressure, jar, food, and altitude instructions.
Cleaning and Maintenance
Clean the inner pot, lid, sealing ring, steam release parts, and condensation collector as directed by the manual.
After cooking:
- Unplug the cooker if it is safe and practical to do so.
- Remove the inner pot.
- Wash the inner pot and lid parts.
- Clean food residue from the sealing ring area.
- Check the steam release and float valve.
- Dry parts before storing.
Silicone sealing rings can hold odors from garlic, spices, and meat. Some models allow a spare ring for savory foods and another for mild foods. Use only parts approved for your model.
Replace a sealing ring when it is cracked, misshapen, sticky, or unable to seal. Do not use a ring that does not fit the cooker correctly.
Instant Pot Pressure Cooker Decision Guide
Use this quick guide when choosing a method.
| Your goal | Best starting choice | Main caution |
|---|---|---|
| Cook beans | High-pressure cooking with natural release | Do not overfill |
| Cook tender vegetables | Short pressure time with quick release | Vegetables can become soft quickly |
| Brown meat | Sauté, then pressure-cook if needed | Deglaze the pot first |
| Make soup | Pressure Cook with enough thin liquid | Avoid a full pot of foam |
| Cook rice | Rice preset or tested rice recipe | Grain type changes the ratio |
| Reduce a sauce | Sauté with the lid off | Thick sauce may trigger a burn warning |
| Hold food warm | Keep Warm for a short period | Refrigerate leftovers safely |
The key trade-off is usually speed versus control. Pressure cooking is efficient, but the cooker takes time to heat and release pressure. Sautéing, natural release, and thick sauces also change the total cooking time.

Mistakes New Users Should Avoid
Avoid these common errors:
Using the wrong valve position
The valve must be set to sealing for pressure cooking. Venting prevents pressure from building.
Treating preset buttons as exact recipes
A button labeled “Meat” or “Soup” does not know the food’s size, starting temperature, or liquid level. Adjust the time when the recipe requires it.
Adding too little liquid
Pressure cannot build without enough steam. Follow the manual and recipe instructions rather than guessing.
Filling the pot too high
Expansion and foam can block the steam release. Use the half-full limit for expanding foods and the two-thirds limit for most other foods.
Opening the lid too soon
The float valve must drop before opening. Steam burns can happen even when the display says cooking has ended.
Using thick sauces without adjustment
Thick mixtures can burn on the bottom. Add thin liquid and layer thick ingredients above it when suitable.
Assuming pressure cooking replaces food-safety checks
Cooking time does not prove that meat is safe. Use a food thermometer when needed and chill leftovers promptly.
Frequently Asked Questions
Do I need to preheat an Instant Pot?
No separate preheating step is usually needed for pressure cooking. The cooker heats the food and liquid while it builds pressure. The display may show a preheating message before the cooking countdown begins.
Can I put frozen meat in an Instant Pot?
Many electric pressure cookers can cook frozen meat, but the cooking time and liquid amount must come from a tested recipe. Frozen meat takes longer to reach temperature, and large pieces may cook unevenly. Check the thickest part with a food thermometer.
Should the Instant Pot hiss while cooking?
A brief release of steam during heating can be normal. Continuous heavy steam from the valve usually means the valve is venting or the cooker has not sealed. If steam leaks from the lid, stop and inspect the sealing ring after pressure is gone.
Can I open the Instant Pot during cooking?
You cannot safely open the lid while the pot is pressurized. You may press cancel and wait for pressure to release, but the lid should open only after the float valve drops.
How much water should I put in an Instant Pot?
Use the amount required by your recipe and the manual for your model. The amount depends on the cooker size, food, program, and recipe. Do not use a universal water amount for every dish.
Can I use an Instant Pot for pressure canning?
Do not assume that an Instant Pot is suitable for pressure canning. Pressure cooking and pressure canning are different processes. Follow guidance from the National Center for Home Food Preservation and use equipment specifically approved for the food and canning method.
Key Takeaways
- Add food and enough thin liquid to the inner pot.
- Do not exceed the half-full line for expanding or foaming foods.
- Check the sealing ring and set the valve to sealing.
- The cooking countdown starts after the pot reaches pressure.
- Use natural release for many soups, beans, stews, and large meat cuts.
- Use quick release for many delicate vegetables and seafood dishes.
- Open the lid only after the float valve drops.
- Never force the lid or block the steam release.
- Use the manual for your exact Instant Pot model when controls differ.
Conclusion
Using an Instant Pot pressure cooker becomes easier once you understand the order: prepare, seal, pressurize, cook, release, and open only when pressure is gone. Start with simple foods, use tested recipes, and pay close attention to liquid levels and fill limits.
Your next step is to read the manual for your model, inspect the sealing ring, and try a small batch of rice, eggs, vegetables, or soup. With a few careful meals, the buttons will feel less like a puzzle and more like a short path to dinner.