
Cooking chicken breast in a pressure cooker is a fast way to make tender meat for salads, tacos, sandwiches, soups, and meal prep. Add chicken, liquid, and seasoning to the pot, cook under high pressure, then check that the thickest part reaches 165°F (74°C).
This guide focuses on electric pressure cookers commonly used in the United States, such as the Instant Pot. Cooking times vary with the chicken’s thickness, starting temperature, and the cooker model. A food thermometer is the safest way to confirm that the chicken is done.
Introduction
For most boneless, skinless chicken breasts, use 1 cup of thin liquid, cook at high pressure for 8 to 10 minutes, and let the pressure release naturally for 5 minutes before venting the rest. Smaller breasts may finish sooner, while very thick or frozen pieces need more time.
Chicken breast is lean, so it can turn dry if overcooked. The pressure cooker helps by trapping steam, but it does not remove the need to check the temperature. In the United States, the USDA recommends cooking poultry to a minimum internal temperature of 165°F, measured with a food thermometer.

What You Need
You need only a few basic items to cook chicken breast in a pressure cooker:
- Boneless, skinless chicken breasts
- An electric pressure cooker with its inner pot and lid
- At least the minimum amount of thin liquid required by your model
- Salt and pepper
- A trivet or rack, if you want to keep the chicken above the liquid
- An instant-read food thermometer
- Tongs or a fork for removal
Water works well, but low-sodium chicken broth adds more flavor. You can also use vegetable broth, diluted apple juice, or a thin sauce that your pressure cooker manual approves.
Avoid using thick sauces alone as the cooking liquid. Ingredients such as barbecue sauce, tomato paste, cream, or cheese may scorch on the bottom. Thin them with water or broth, and follow the cooker’s instructions.
Choosing the Chicken
Fresh or fully thawed chicken breasts cook most evenly. Choose pieces that are close in size and thickness. If one breast is much thicker than the others, it may need more time.
You can cook bone-in chicken breasts, but they need a different cooking time. This guide is mainly for boneless, skinless chicken breast.
For even cooking:
- Trim large pieces of fat or loose skin.
- Pound very thick areas gently so the breast has a more even thickness.
- Pat the chicken dry if you plan to brown it.
- Season both sides before cooking.
Do not rinse raw chicken. The USDA advises against rinsing poultry because splashing water can spread bacteria around the sink and nearby surfaces.
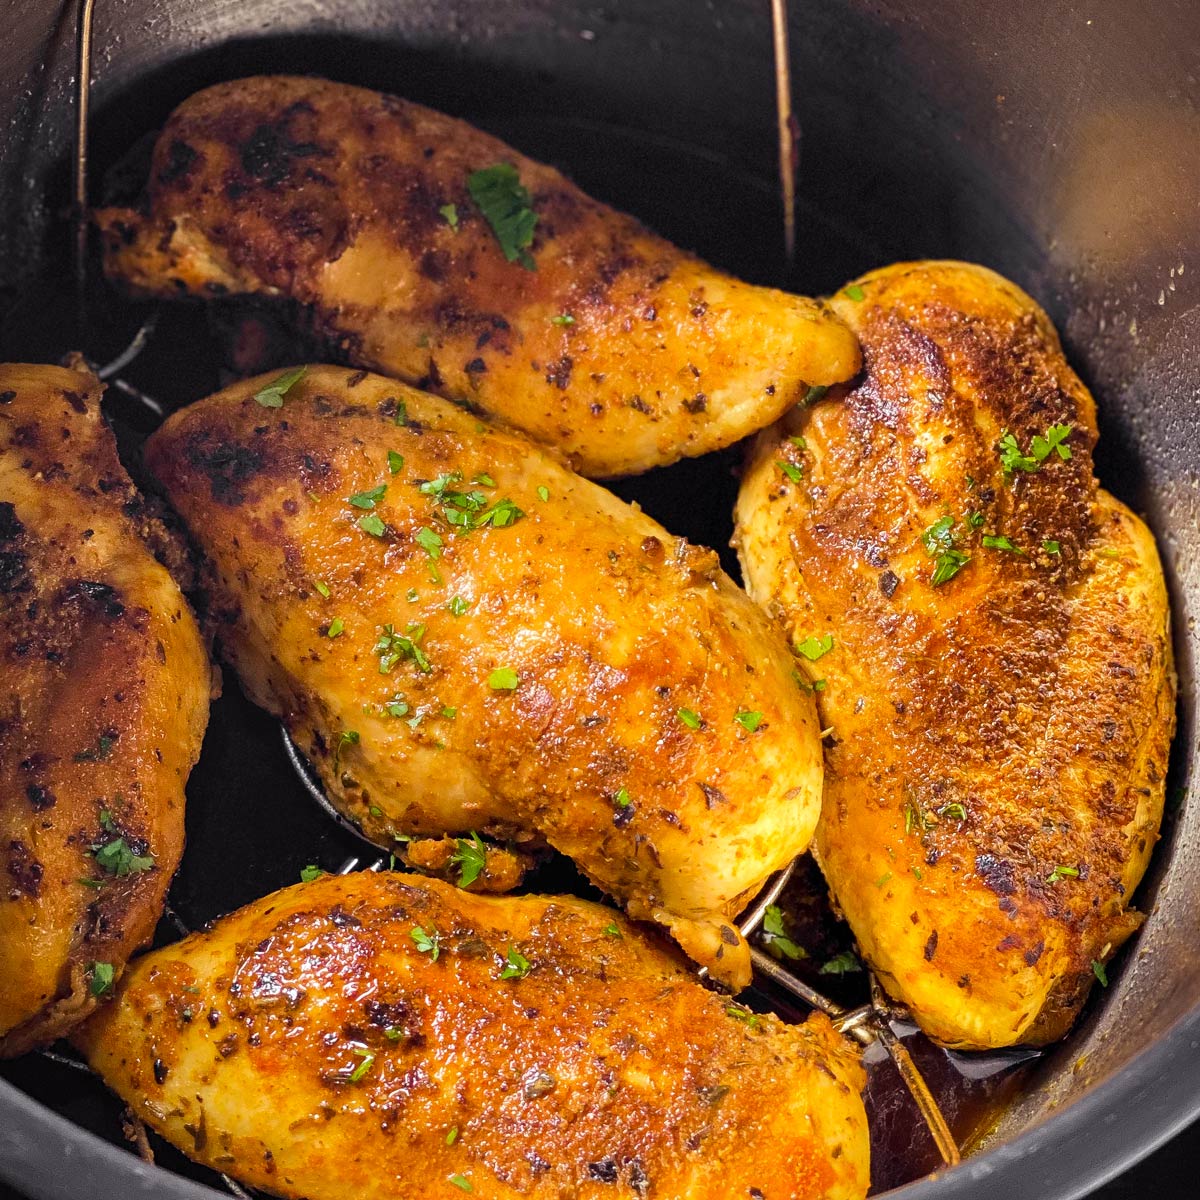
Pressure Cooker Chicken Breast Cooking Times
The best cooking time depends on whether the chicken is fresh or frozen and how thick each piece is. The times below are practical starting points for boneless, skinless chicken breast in an electric pressure cooker at high pressure.
| Chicken breast | High-pressure cooking time | Pressure release |
|---|---|---|
| Small, fresh breasts, about 5–6 ounces each | 7–8 minutes | Natural release 5 minutes |
| Average fresh breasts, about 6–8 ounces each | 8–10 minutes | Natural release 5 minutes |
| Large or thick fresh breasts | 10–12 minutes | Natural release 5–10 minutes |
| Frozen breasts, separated | 12–15 minutes | Natural release 5–10 minutes |
| Frozen breasts stuck together | Avoid if possible | Separate before cooking |
These times are not a substitute for checking the chicken. Size, thickness, altitude, starting temperature, and pressure cooker design can change the result.
What Does “Natural Release” Mean?
Natural release means you leave the pressure cooker alone after the cooking cycle ends. The pressure drops as the pot cools. After the recommended time, move the valve to venting to release any remaining pressure.
A quick release can work, but it may make chicken breast less tender and can cause hot liquid to spray from the valve. A short natural release gives the meat time to finish cooking gently.
Do not open the lid until the pressure indicator has dropped and the cooker’s instructions say it is safe to open.
Does the Cooker Take Longer Than the Set Time?
Yes. The programmed cooking time begins only after the cooker reaches pressure. The total time includes:
- Time for the cooker to heat and build pressure
- The programmed cooking time
- The natural pressure-release time
For example, a 10-minute setting may take 25 to 35 minutes from start to finish, depending on the amount of chicken and liquid in the pot.

How to Cook Chicken Breast in Pressure Cooker
Use this method for thawed, boneless, skinless chicken breasts.
1. Add Liquid to the Pot
Pour in the minimum amount of thin liquid required by your pressure cooker manual. Many electric models use 1 cup, but some models require a different amount.
Add the liquid before placing in the chicken. This helps create the steam needed to build pressure and reduces the chance of scorching.
2. Season the Chicken
Season the chicken with salt, pepper, garlic powder, onion powder, paprika, or your preferred spice blend.
For a simple amount, use about:
- 1 teaspoon kosher salt for 1½ to 2 pounds of chicken
- ½ teaspoon black pepper
- 1 teaspoon garlic powder
- 1 teaspoon paprika
You can adjust the seasoning to fit the final dish. Use less salt if the broth or seasoning blend already contains salt.
3. Place the Chicken in the Cooker
Set the chicken in the liquid or on a trivet above the liquid. Both methods work.
- In the liquid: The chicken absorbs more flavor and is useful for shredding.
- On a trivet: The chicken stays above the liquid and may have a firmer surface.
Do not fill the cooker beyond its maximum fill line. Chicken expands slightly, and too much food can affect pressure and safe operation.
4. Set the Cooking Time
Lock the lid and set the valve to Sealing, if your model has a separate valve. Select High Pressure and set the time based on the chicken’s size.
Start with 8 to 10 minutes for average fresh chicken breasts. Use 10 to 12 minutes for thick pieces.
5. Let the Pressure Release Naturally
When the cooking cycle ends, let the pressure release naturally for 5 minutes. Then carefully vent the remaining pressure according to your cooker’s instructions.
Keep your hands and face away from the steam. Steam can cause serious burns.
6. Check the Temperature
Insert an instant-read thermometer into the thickest part of the largest breast. The center must reach 165°F.
If the chicken is below 165°F, return it to the pressure cooker and cook for another 1 to 2 minutes at high pressure. You can also place it in a covered pan over low heat until it reaches the safe temperature.
Avoid touching the thermometer tip to the pot, bone, or the trivet. Those surfaces can give a false reading.
7. Rest and Slice
Let the chicken rest for about 5 minutes before slicing. Resting allows some of the juices to settle.
Slice across the grain for neat pieces. For shredded chicken, use two forks or a hand mixer on low speed while the chicken is still warm.

How to Cook Frozen Chicken Breast in a Pressure Cooker
You can cook frozen chicken breast in a pressure cooker, but separated pieces work best. Frozen breasts that are stuck together may cook unevenly, with the outside becoming overdone before the center reaches 165°F.
Use this method:
- Add the required thin liquid.
- Place the frozen chicken in a single layer when possible.
- Add seasoning. Some spices may not stick well to frozen meat, so season again after cooking if needed.
- Cook at high pressure for about 12 to 15 minutes for average, separated breasts.
- Let the pressure release naturally for 5 to 10 minutes.
- Check the thickest part of every large piece with a thermometer.
If the chicken is still below 165°F, continue cooking. Do not rely on the color of the meat or the cooking time alone.
Frozen chicken may release extra water, which can dilute the cooking liquid. This matters if you plan to use the liquid as a sauce or broth.
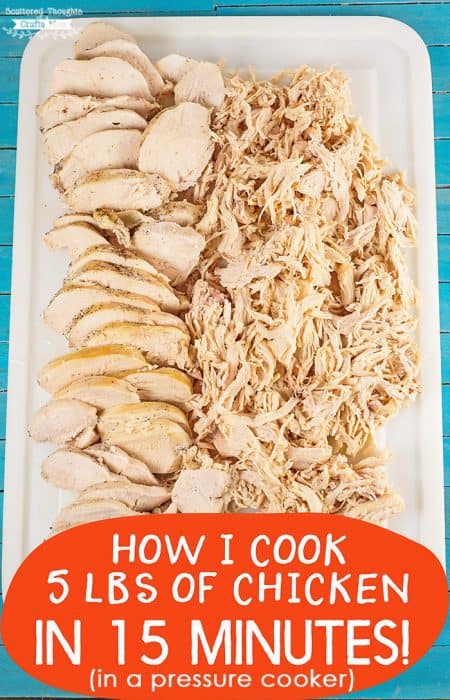
How to Keep Pressure Cooker Chicken Breast Moist
The main cause of dry chicken breast is overcooking. Pressure cooking traps moisture, but it cannot restore moisture lost from meat that has been heated too long.
Use these steps for better texture:
- Choose breasts that are similar in size.
- Flatten very thick parts so the meat cooks evenly.
- Use enough thin liquid for the cooker to reach pressure.
- Avoid adding extra cooking time “just to be safe.”
- Use a 5-minute natural release before venting.
- Check the temperature as soon as the lid is safely removed.
- Rest the meat before cutting.
- Store sliced chicken with a little broth or cooking liquid.
A trivet can help prevent the bottom of the chicken from sitting in hot liquid. However, chicken cooked directly in broth is often more useful for shredding and meal prep.
Why Is the Chicken Rubbery?
Rubbery chicken can have several causes:
- The breast was overcooked.
- The meat was very thick and cooked unevenly.
- The chicken was frozen and stuck together.
- The pressure was released too quickly.
- The meat was cut immediately after cooking.
If the chicken reaches 165°F but still feels firm, slice it thinly and add broth, sauce, or dressing. If it is undercooked, continue cooking until it reaches the safe temperature.

Flavor Ideas for Pressure Cooker Chicken
The basic method works with many flavors. Add seasonings before cooking, then finish the chicken after it is done.
Lemon Garlic Chicken
Use chicken broth, garlic powder, black pepper, and a small amount of lemon zest. Add fresh lemon juice after cooking. Acidic ingredients can become bitter or change texture when cooked under pressure for too long.
Taco Chicken
Season with chili powder, cumin, garlic powder, onion powder, and paprika. Shred the cooked chicken and mix it with a little broth or salsa added after pressure cooking.
Italian-Style Chicken
Use Italian seasoning, garlic, black pepper, and chicken broth. Slice the chicken for pasta, grain bowls, or sandwiches.
Plain Chicken for Meal Prep
Use water or low-sodium broth with salt and pepper. Cool the chicken promptly, then store it in shallow containers. Plain chicken is easy to season later for salads, wraps, soups, and rice bowls.
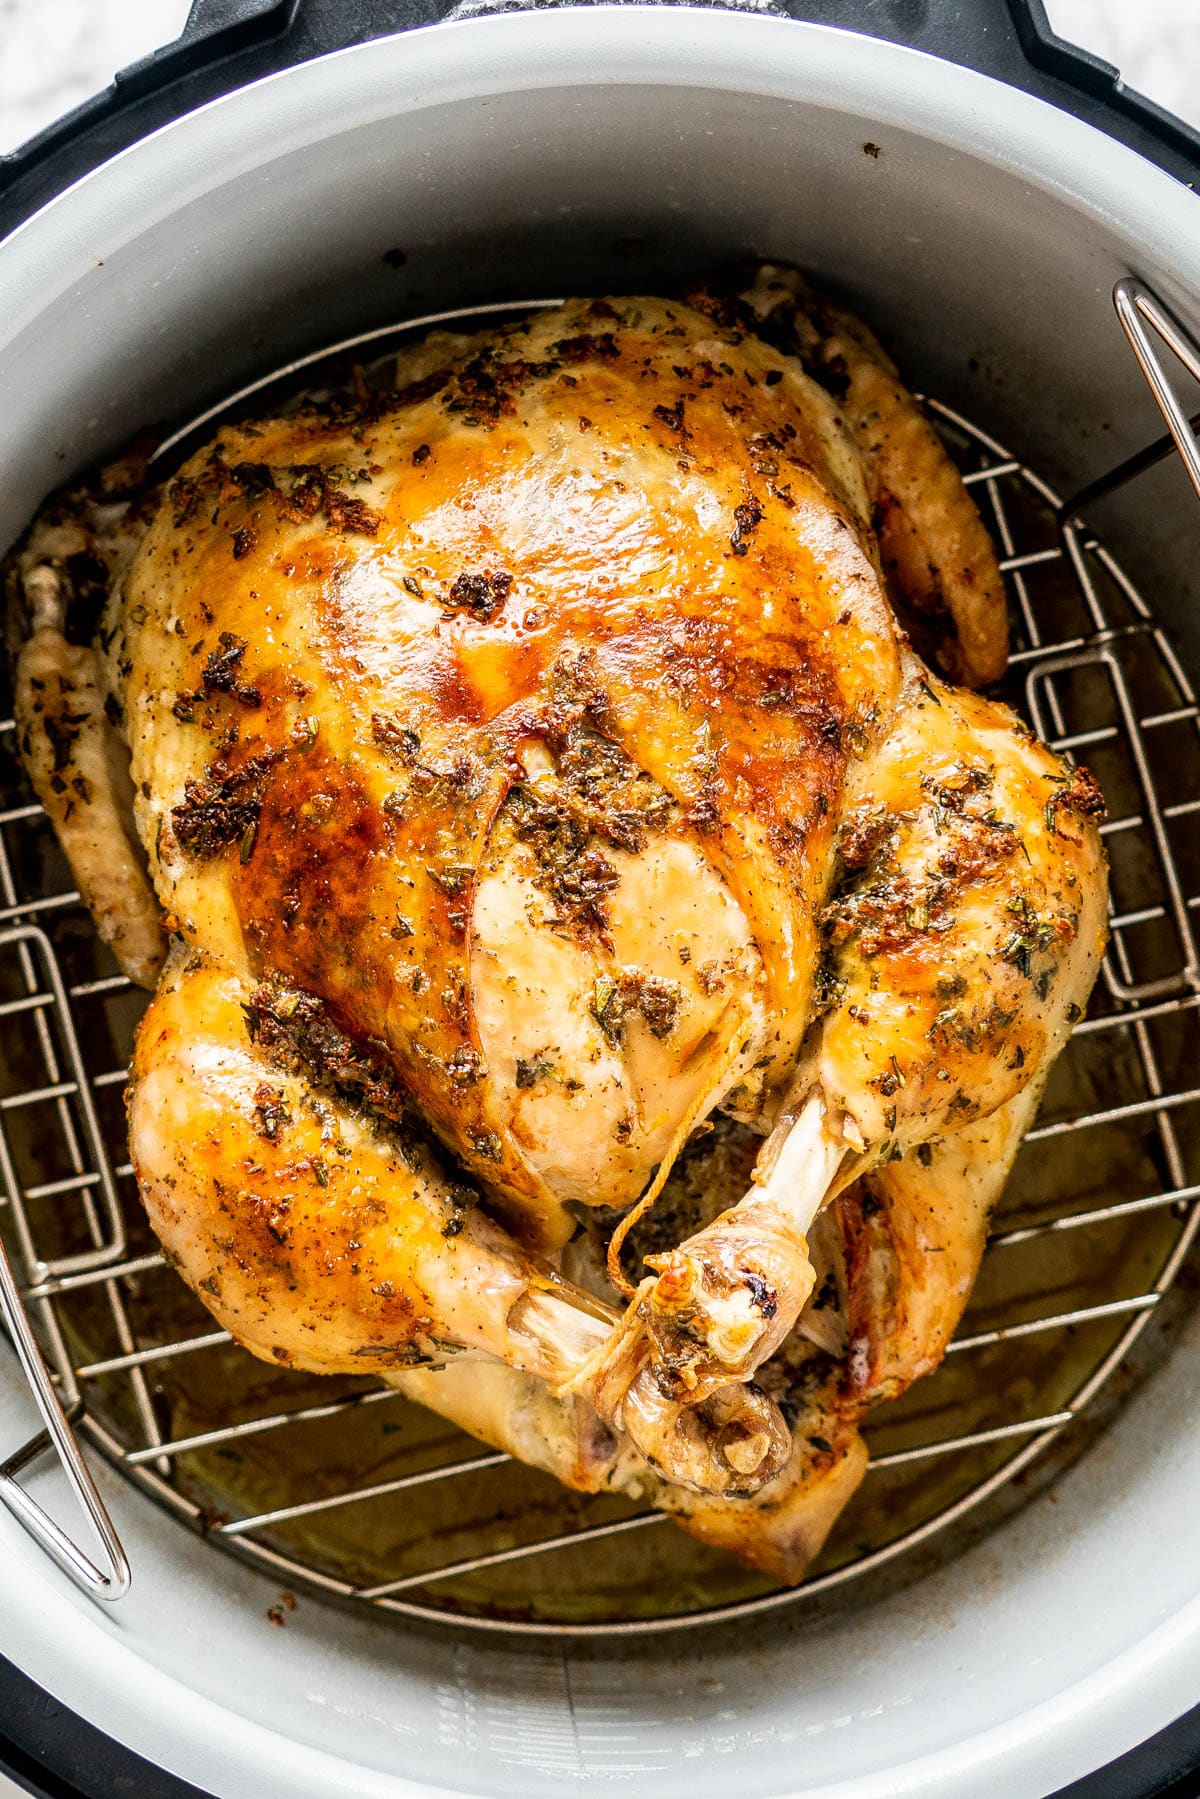
How to Shred Pressure Cooker Chicken Breast
Shredding works best while the chicken is warm.
For small amounts, place a breast on a cutting board and pull it apart with two forks. For a larger batch, use a stand mixer or hand mixer on low speed for a few seconds. Do not mix for too long, or the chicken may become stringy.
Add a few spoonfuls of the cooking liquid to the shredded meat. This improves moisture and flavor without making the chicken soupy.
Use shredded chicken in:
- Tacos and burritos
- Chicken salad
- Enchiladas
- Sandwiches
- Soups
- Rice bowls
- Pasta dishes
Cool leftover chicken in the refrigerator within two hours. Store it in a covered container and use it within the time recommended by the USDA for cooked leftovers. Reheat leftovers until hot, and avoid repeatedly cooling and reheating the same batch.

Common Pressure Cooker Mistakes
Using Too Little Liquid
A pressure cooker needs liquid to create steam. Too little liquid can prevent the cooker from reaching pressure and may cause a burn warning.
Use the amount stated in your model’s manual. Liquid needs vary by cooker size and design.
Using a Thick Sauce
Thick sauces can settle on the bottom and scorch. Add water or broth to thin the sauce, or stir the sauce in after the chicken is cooked.
Cooking Breasts of Different Sizes Together
Small breasts may dry out while a very thick breast finishes. For more even results, group similar pieces together or pound the thickest parts.
Guessing Doneness by Color
Cooked chicken can remain slightly pink near the center, and fully cooked chicken can look white before it reaches a safe temperature. Use a thermometer, not color, as the final test.
Filling the Pot Too High
Follow the maximum fill line. Do not pack food tightly around the lid, pressure valve, or steam-release parts.
Forcing the Lid Open
Never force the lid. If it does not open, pressure may still remain inside. Wait until the pressure indicator drops and follow the manufacturer’s instructions.
Using a Damaged Sealing Ring
A worn, cracked, stretched, or dirty sealing ring can cause steam to escape. Inspect the ring and pressure valve before cooking. Replace parts with those approved for your cooker model.

Pressure Cooker Chicken Breast Troubleshooting
| Problem | Likely cause | What to do |
|---|---|---|
| Cooker will not reach pressure | Too little liquid, poor seal, or valve set to venting | Check the liquid, lid seal, and valve position |
| Burn warning appears | Thick sauce, food stuck to the bottom, or too little liquid | Turn off the cooker, release pressure safely, and inspect the pot |
| Chicken is under 165°F | Pieces are thick, frozen, or crowded | Cook again for 1–2 minutes, then recheck |
| Chicken is dry | Too much time or very small breasts | Reduce the time next batch and use a thermometer earlier |
| Chicken is tough | Overcooking or cutting too soon | Use a shorter cycle and rest the meat |
| Chicken is bland | Plain cooking liquid or too little seasoning | Season before cooking and finish with sauce, herbs, or citrus |
| Chicken is unevenly cooked | Breasts vary greatly in size or are frozen together | Use similar pieces and separate frozen breasts |
If the cooker displays a burn warning, do not keep restarting it without checking the cause. Turn off the cooker and release pressure using the safe method in the manual. Hot food and liquid may be under pressure.

How to Store and Reheat Cooked Chicken
Cool cooked chicken in shallow containers so it loses heat more quickly. Refrigerate it within two hours. If the room temperature is above 90°F, refrigerate it within one hour.
Keep chicken sealed to prevent drying and to reduce contact with other foods. Add broth, water, or sauce before reheating. Warm it until steaming hot, and check the center if you are reheating a thick portion.
For longer storage, freeze cooled chicken in meal-size portions. Mark each container with the date and contents. Thaw frozen cooked chicken in the refrigerator, in cold water changed often, or in the microwave—not on the counter.
The USDA’s food safety guidance is the best reference for current storage and reheating limits because those limits depend on temperature and handling conditions.

Key Takeaways
- Use 8 to 10 minutes at high pressure for average, thawed chicken breasts.
- Use about 12 to 15 minutes for separated frozen breasts.
- Follow your cooker manual for the required amount of liquid.
- Allow a 5-minute natural release before venting.
- Check the thickest part with a thermometer.
- Chicken is safe when it reaches 165°F.
- Rest the chicken before slicing or shredding.
- Thin thick sauces with liquid to help prevent scorching.
FAQs
Can I cook chicken breast without a trivet?
Yes. You can place the chicken directly in the broth or other thin liquid. Direct contact with the liquid is useful when you want tender shredded chicken. A trivet keeps the chicken above the liquid and may produce a firmer surface.
Can I stack chicken breasts in a pressure cooker?
Yes, but a single layer cooks more evenly. If you stack the breasts, use pieces of similar size, avoid packing them tightly, and check the thickest piece with a thermometer.
Should I brown chicken breast before pressure cooking?
Browning is optional. It adds a roasted flavor and darker color but does not replace pressure cooking or temperature testing. Use the sauté function first, then scrape up browned bits and add enough thin liquid before pressure cooking.
Can I use chicken tenderloins instead of chicken breasts?
Yes, but tenderloins are smaller and may need less time. Start with about 5 to 7 minutes at high pressure, followed by a short natural release. Check them early because small pieces can dry out quickly.
Why is there so much liquid in the pot?
Chicken releases water as it cooks, especially when it starts frozen. The liquid can be used to moisten shredded chicken or strained for a light broth. If you want a thicker sauce, remove the chicken and thicken the liquid after pressure cooking using the sauté function.
Can I cook chicken breast with vegetables at the same time?
Yes, but choose vegetables that can handle the cooking time. Potatoes, carrots, and other firm vegetables may work well. Tender vegetables such as zucchini, peas, and broccoli can become soft, so add them after pressure cooking or cook them separately.
What should I do if my chicken is still pink?
Check the temperature at the thickest point. If it is below 165°F, cook it longer. Color alone does not reliably show whether chicken is safe to eat.
Conclusion
To cook chicken breast in a pressure cooker, add the required thin liquid, season the meat, cook fresh breasts at high pressure for about 8 to 10 minutes, and allow a short natural release. Frozen, separated breasts usually need about 12 to 15 minutes.
The most important step is checking the thickest piece with a food thermometer. Once it reaches 165°F, rest the chicken, slice or shred it, and use it in the meal of your choice. For your next batch, note the breast size, cooking time, and texture so you can fine-tune the result for your pressure cooker.
Pingback: How Long To Cook Chicken Breast In Air Fryer: Easy Guide - Smart Find Today
Pingback: How Long To Cook Drumsticks In Air Fryer: Easy Timing - Smart Find Today