
In the United States, Mr. Coffee espresso machines come in several designs, so the right steps depend on your model. Most have either a portafilter and brew/steam controls or one-touch drink buttons with a milk container. Check your model number first, then follow the matching steps below.
Introduction
If you are new to espresso, the buttons, basket, and steam wand can feel like a lot at once. The basic routine is simple: add water, prepare the coffee, brew, then clean the parts that touched coffee or milk. Your machine’s manual is the final word on exact fill lines, button names, and cleaning steps.

Identify your Mr. Coffee machine
Find the model number on the label, often on the base or back of the machine. Use it to locate the correct manual on Mr. Coffee’s official support or product-manual site. Models can look similar but use different controls and cleaning steps.
| What you see | Likely machine type | What to do |
|---|---|---|
| A portafilter handle, filter basket, and brew/steam knob or buttons | Manual or steam-style model | Follow the portafilter steps below. |
| Drink buttons and a milk reservoir or milk hose | Automatic espresso, latte, or cappuccino model | Follow the one-touch steps below. |
| A boiler cap that you must open to add water | Pressurized boiler model | Let the machine cool before opening the cap. Follow its manual’s fill and pressure-release instructions. |
Do not assume every Mr. Coffee model makes coffee the same way. If the controls or parts on your machine do not match either set of steps, pause and check the manual before adding water or turning a control.

What you need before brewing
Set out fresh water, ground coffee, and a cup that fits beneath the spout. For milk drinks, use cold milk and the machine’s milk container or a suitable pitcher, as directed by your model’s manual. Place the machine on a stable, dry counter near an outlet that matches the label.
Espresso usually uses a fine grind, but avoid grinding coffee into a powder. Start with the basket that came with the machine and fill it as the manual shows. A basket that is packed too tightly or filled too high can make brewing slow or messy.
Before your first drink, rinse removable parts if the manual calls for it. Check that the water tank is seated, the drip tray is in place, and the machine is not near the edge of the counter. Keep hands clear of hot water and steam.

How to use Mr Coffee Espresso machine with a portafilter
These steps apply to models with a removable handle that holds a coffee basket. The order and control labels can vary, so use the manual for any model-specific water amounts or warm-up instructions.
- Add water. Fill the tank to its marked line. If your model has a boiler cap, follow the manual’s instructions and never open the cap while the machine is hot or pressurized.
- Warm the machine, if required. Turn it on or select the setting named in your manual. Wait for the ready light or other signal before brewing.
- Prepare the basket. Add ground coffee to the correct basket. Level the coffee and tamp it only if your manual calls for tamping. Wipe loose grounds from the basket rim.
- Lock in the portafilter. Fit the handle into the brew head and turn it until secure. Do not force it if it will not lock; check that the basket is seated correctly.
- Place a cup under the spouts. Use the brew control or button. Stop brewing when the machine’s serving mark or your manual’s direction tells you to stop.
- Release the handle safely. Turn the control off and wait for the machine to finish releasing pressure. Remove the portafilter only when it is safe to do so. Hot water and grounds may remain in the basket.
- Steam milk only if your model supports it. Switch to the steam setting as directed. Keep the wand tip in the milk, not your hand, and turn the steam off before moving the pitcher.
A successful brew should flow into the cup without splashing or leaking around the portafilter. If coffee barely comes out, stop the machine; a basket that is overfilled or packed too firmly may be restricting the flow.
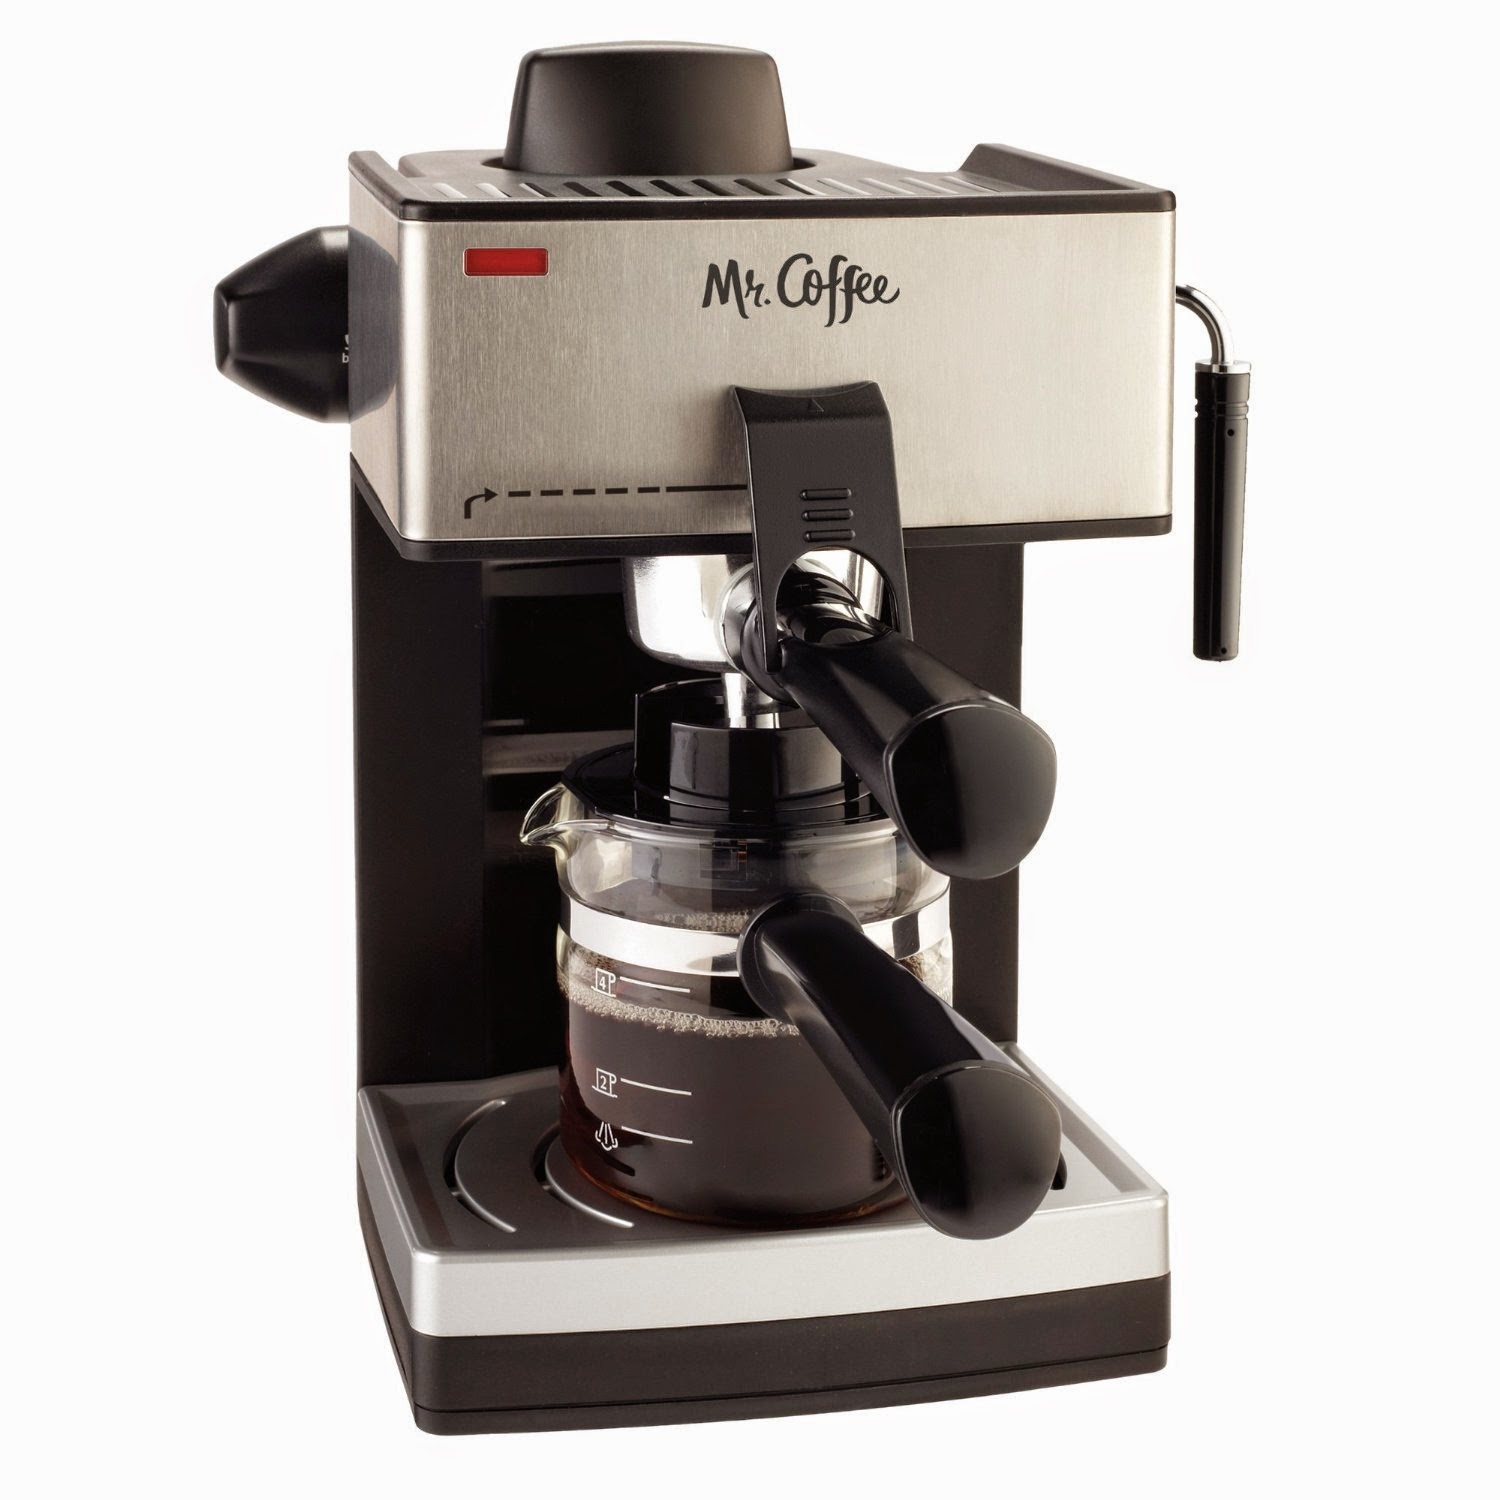
How to use a Mr. Coffee one-touch machine
Some Mr. Coffee models, such as the Cafe Barista line, use drink buttons and a milk reservoir. Button names and drink sizes vary by model, so confirm them in the manual before your first brew.
- Fill the water tank. Use the tank’s fill marks and put it back in place.
- Prepare the milk system. Add cold milk to the reservoir only if your model uses one. Attach the reservoir or milk hose as the manual shows.
- Add coffee to the portafilter. Use the basket for the drink size you want. Fill and tamp it according to the manual, then lock the portafilter into the brew head.
- Set up your cup. Place a cup under the coffee outlet and, if needed, the milk outlet. Make sure the cup is large enough for the drink.
- Select a drink. Press the button for espresso, cappuccino, latte, or another option available on your model. Let the machine complete its cycle.
- Remove and clean used parts. Once brewing has stopped, discard the used grounds and rinse the portafilter and basket. Clean the milk parts after every milk drink.
If the machine does not start, check that the water tank, milk container, and portafilter are seated correctly. Some models will not run if a part is missing or not in place.

How to steam milk for a latte or cappuccino
Use the steam wand or milk system that came with your machine; do not try to steam milk through the coffee outlet. Follow your model’s manual for the order of brewing and steaming, since some machines need time to switch between modes.
For a steam wand, add cold milk to a suitable pitcher without filling it to the top. Keep the wand tip below the milk surface, turn on steam as directed, and hold the pitcher by its handle. Steam can burn skin quickly, so keep your face and hands away from the wand and its hot spray.
Turn steam off before removing the pitcher. Wipe the wand with a damp cloth and clear it as the manual directs. For a machine with a milk reservoir, run its stated rinse or cleaning cycle after each use. Do not leave milk in the system between drinks.

Common problems and what to check
Stop the machine before adjusting parts. If there is a burning smell, damaged cord, electrical sparking, or a leak near electrical parts, unplug it if you can do so safely and do not use it until the issue is checked.
| Problem | Checks to try |
|---|---|
| Little or no coffee comes out | Check the water level, tank fit, basket fill, and grind. A very fine grind or tightly packed basket may slow the flow. |
| Coffee leaks around the portafilter | Turn the machine off. Check that the basket is seated, the rim is clean, and the handle is locked as the manual shows. |
| The machine will not start | Check the outlet, power switch, water tank, and any parts that must be in place. Do not bypass a safety feature. |
| Milk does not froth | Check that the machine is in steam mode, the milk is cold, and the wand or milk system is clean and fitted correctly. |
| The machine makes unusual noise or stops during use | Turn it off and check the water level and setup. If the problem continues, follow the manual’s troubleshooting section or contact Mr. Coffee support. |
If the machine needs descaling, use the method and product stated in its manual. Do not assume vinegar is safe for every model; a cleaning method that works for one machine may damage another or leave residue.

Cleaning and routine care
Clean the parts that touch coffee or milk after each use. Turn the machine off, let hot parts cool, then empty the used grounds and rinse the basket, portafilter, drip tray, and milk parts as the manual allows. Wipe the outside with a damp cloth; do not immerse the machine or its power cord in water.
Descale only as often and in the way the manual directs. Mineral buildup can affect water flow, but the right cleaning cycle and descaling solution depend on the model. If your machine has a cleaning alert or cycle, follow its instructions rather than guessing at a schedule.

Key takeaways
- Check the model number and manual before choosing a brewing method.
- Use the portafilter steps for a handle-and-basket machine, and the one-touch steps for a machine with drink buttons and a milk system.
- Never open a hot, pressurized boiler cap.
- Clean coffee and milk parts after use, and follow the model’s own descaling instructions.
FAQs
Do I need special coffee for a Mr. Coffee espresso machine?
No. You can use coffee labeled for espresso or another suitable ground coffee. A fine grind is common, but an overly fine grind can slow water flow. Start with the grind and basket setup recommended in your manual.
Should I tamp the coffee in the basket?
Only if your model’s instructions call for it. If tamping is required, use the supplied tamper or the method shown in the manual. Do not pack the basket beyond its fill mark.
Can I use regular milk?
Many milk systems can use common types of milk, but results may differ. Check your manual for approved milk types and fill limits. Clean the milk container, hose, or wand after each use.
Why is my espresso weak or watery?
Check that you are using the right basket, enough coffee for that basket, and the grind recommended for your model. Also check that the portafilter is secure and that the machine is brewing as directed. Avoid changing several settings at once; adjust one thing, then try another cup.
How do I find the manual for my machine?
Look for the model number on the machine’s label, often on the back or base. Search that exact number on Mr. Coffee’s official support or product-manual site. The manual should give the correct fill lines, controls, cleaning steps, and troubleshooting advice.
Conclusion
To use a Mr. Coffee espresso machine, first identify its model, then follow the instructions for its control type. Add water and coffee as directed, brew with the right basket and settings, and clean coffee or milk parts after each use. If a step differs from your machine’s manual, follow the manual.